Basic Rules
Section divider type: wavesOpacity --
position: bottom

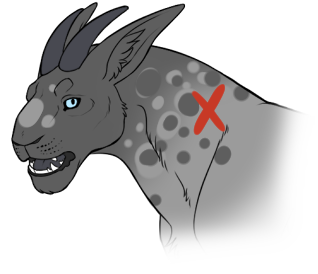
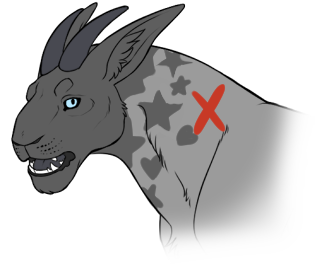
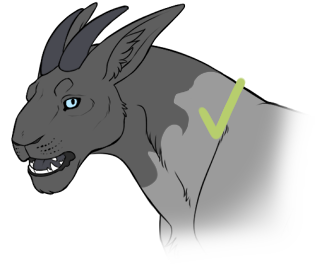
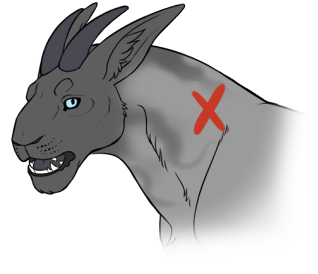
Mottled - The outer range of the marking may have a soft mottled texture to it consisting of small, soft-edged "holes" cut out into the marking's edge.
Mottled will not create any "spots" floating outside of the marking's range and there should still be no edge visible. Please also avoid making the marking too wispy and streaky, as this would too closely resemble our Zephyr anomaly.
|

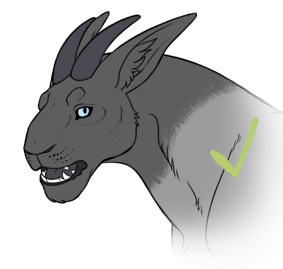
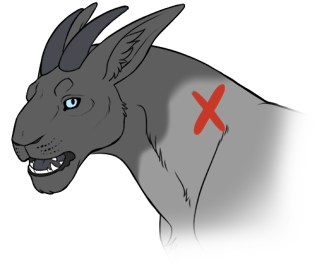
Semi-Soft or Slightly Soft - The outer range of the marking can have a slightly blended edge. The edge should be softer, but still recognizable and should not seamlessly transition into the base coat.
Additionally, semi-soft markings may have a slightly "painterly" edge. However, please avoid using exaggerated canvas or fabric textures for this edge style - a slight grainy look around the edges is allowed, but the marking shouldn't be pixelated and there shouldn't be an obvious 'canvas' showing through it! Lastly, with this edge style, please make sure the marking has one discernible edge and not multiple layers of different opacity. 
|

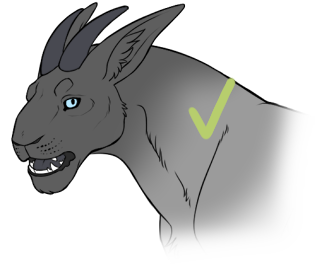
Soft or Fully Blended - The outer range of the marking must be fully blended and transition smoothly into the base coat. There should be no discernible edge.
|

Textured - This descriptor is used solely to denote which markings may have a fur-like texture. No other texture is allowed.
|

Sculpted - This descriptor denotes that an marking's edge may have some variance in its outer range including dips, crests, and points. The edges do not need to be smooth or uniform. Just avoid making it into actual shapes.
|

Hard Edge - The outer range of the marking must have a crisp anti-aliased edge. These edges should never be pixelated.
|
|
Derived from Base

Derived from the Base Coat - qualified with either 'lighter' and/or 'darker'. This means that the marking should be lighter or darker than the specific color you chose as your Niravar's base coat (not any color in the same box on the basecoat palette). Value and saturation may be altered to an extent, but it should be clear that the marking color is derived from the base color. When altering the saturation and value, keep the following in mind:
Regardless of which colour you pick, however, the marking should be visible against the Niravar's basecoat - markings cannot be "derived from the base" in that they are identical to the base in color and thus invisible. If you're interested in removing markings from a design, you'll want to see the Blotting Potion page! 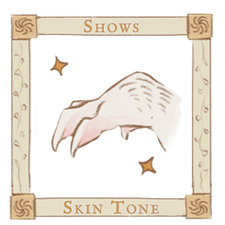
Some markings may additionally ask for a specific color, in which case you can either pick from a slider provided in the guide, or select a color yourself as long as it fulfils the general description given.
|
Black

The marking may be black in color. This does not mean it has to be fully desaturated as black colors may display a subtle tint.
White

This marking is allowed to be white. Selecting a white color is more flexible than black shades as there is no minimum value threshold to worry about. When selecting a white tone for your Niravar's markings, please keep the following in mind:
|
When a marking is described as being able to have 'Any one color selected from the Niravar's base coat palette', it means that you may select one single color from anywhere on the basecoat palette of the Niravar. On any other marking, this is not possible, and markings have to instead be derived from the basecoat, that is, slighthly lighter, darker, or more or less saturated than the specific swatch your Niravar is using for their coat color. With this option, the following rules apply:
This feature is exclusive to event markings.
|
|
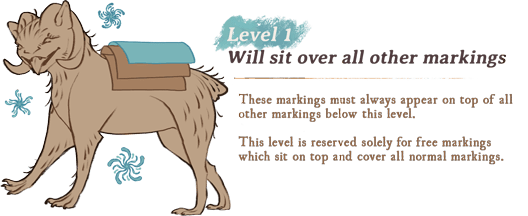 Here is an example of a marking layer label. You will find these in all of our marking guides.